API Information
The Integrify API has a large collection of functions that allow you to manage processes, requests, tasks, reports, and users within an Integrify instance. There are also many new functions in the new API, including extended functions for the management of file attachments.
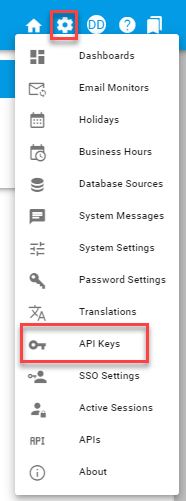
Generating an API Key
Choose the API Keys icon on the Settings menu (the gear icon in the upper right).
To create a new key, add an (optional) expiration date, an optional description, and then click the “Create API Key” button. A new value will appear in the Private Key field. Copy this field using the “Copy” icon on the far right and store it securely and safely. If you do not copy this value, it will not be displayed again anywhere in the system, and you will need to generate a replacement key.
Legacy API Information on the legacy Integrify API can be found at: https://developer.integrify.com/rest/docs. New functions have been added to this version of Integrify, all of which are documented within the application itself. See the screenshot below for the link to the API documentation.

Using the Integrify API
We'll walk through how to use the Integrify API step-by-step including:
- Identify your host and tenant name
- Access the API Documentation
- Authenticate and get your access token
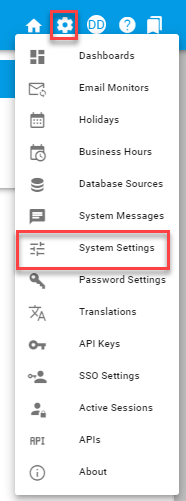
Identify Host and Tenant
The host header value can be found on the main screen under the “System Settings” menu under the gear icon in the upper right-hand corner of the screen.
On the System Settings page you’ll need to copy and save the items below.
- ID – yourtenant
- HostHeader – baseurl.integrify.com

Access the API Documentation
API documentation is now hosted under the System (Gear Icon) / API’s section and has sections as shown in the screenshot below. To access a particular topic, click on the box with the arrow pointing up and to the right:
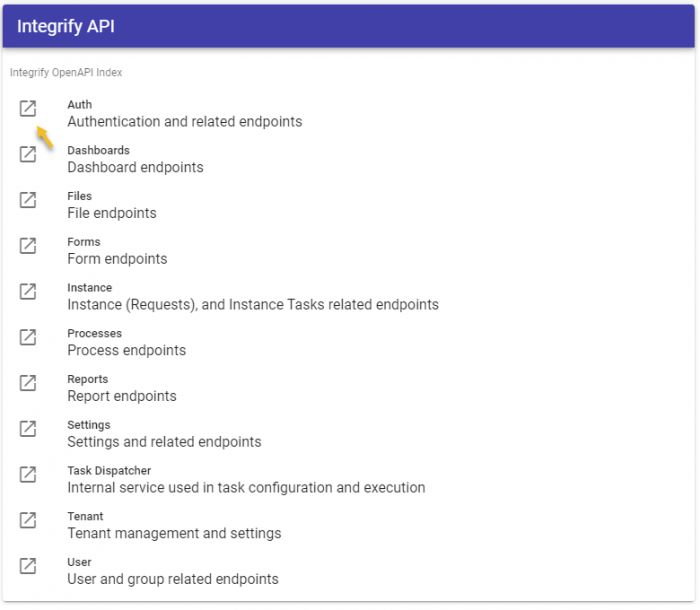
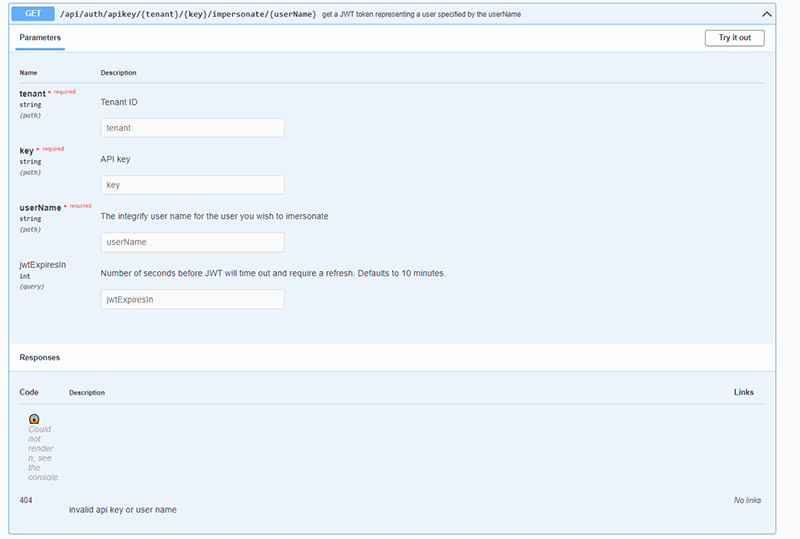
The section you access will look something like this:
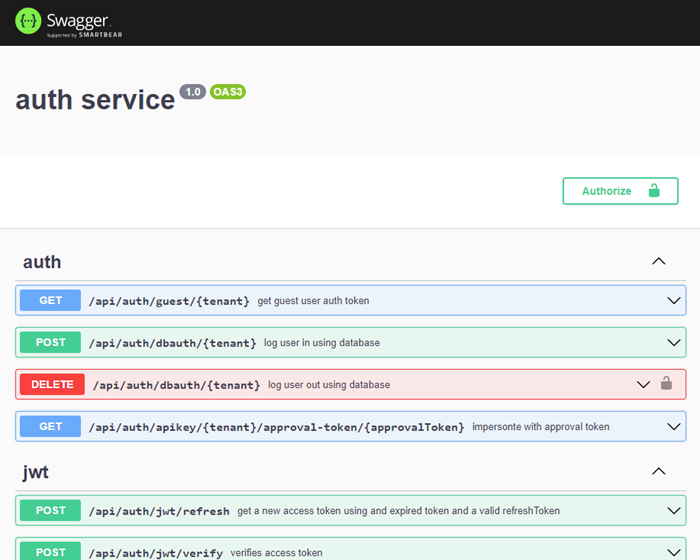
Each colored button represents a method you can access in the Integrify API. In this example, the area is specific to authentication. You can expand each function by clicking on each function’s listing.
Click on the “Try it out” button to test the function directly on the page. You may need to provide one or more parameter values to help the function complete successfully. When the function completes you will receive a success or failure message and any appropriate return values.
Authenticate to the System
To complete most tasks within the Integrify API, you will need to pass a JWT token value in the header of the method call you are using.
Note: IntegrifyEnv (“Env”) tokens are used by system functions only and cannot be used by external systems to authenticate to Integrify.
You can retrieve a JWT token using an API key that you created in the System Settings Area
Using the JWT Token
The JWT token you retrieve should then be placed in the header of each method call you make. The way to use this token is as a “Bearer Authentication” token where the token is passed as proof of privileges to the Integrify system.