Single Sign-On (SSO)
Introduction
This document will walk you through setting up and enabling your Integrify instance for use with Single Sign-On (SSO) using SAML 2.0. This process will create a Service Provider Initiated (SP-Initiated) implementation of SSO with auto-provisioning/updating of authenticated users. Group management (membership, provisioning, etc) and manager sync are not available within the SSO implementation.
While SSO has been tested and confirmed to work with various Identity Providers (IdP)(Okta, Ping Identity, Azure Directory), configuration and management of the Identity Provider side is the responsibility of the end-user.
What Do I Need?
You will need the following items in order to properly configure your Integrify instance to use single sign on:
- Administrative access to your Integrify instance
- The application metadata information from your Identity Provider
- At a minimum, the following attributes must be passed back in the SAML assertion from the Identity Provider
- UserName
- NameFirst
- NameLast
- The following attribute claims are valid, but not required, for an Integrify User profile
- NetworkID
- NameMiddle
- AddressLine1
- AddressLine2
- City
- Postal
- State
- Location
- Country
- Department
- Division
- Phone
- Title
- Custom1
- Custom2
Installation
- Login to your Integrify instance with a user that has Administrator rights.
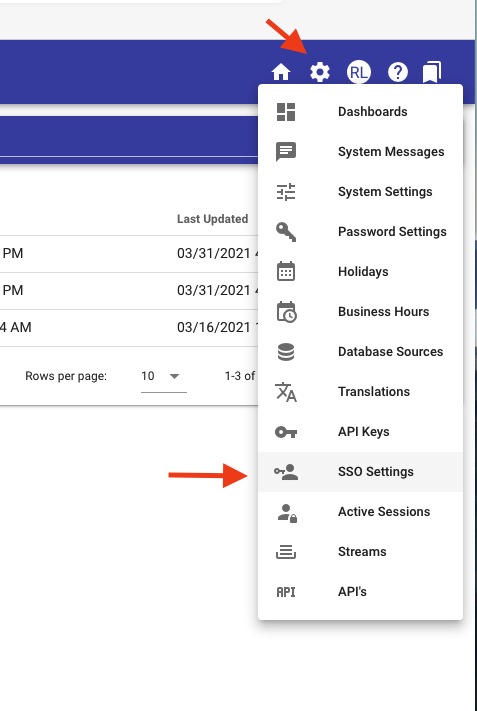
- In the upper right-hand corner hover over the Settings gear icon and select SSO Settings.
- On step 1 of the SSO Settings page click the globe icon to the right of the metadata link box which will open the metadata details in a new tab. Alternatively, copy and paste the metadata link into a new browser tab or window to open the metadata details. This will provide the ACS URL and entityID needed to configure the application on the Identity Provider side.

- Click Continue.
- In step 2 paste the Metadata URL from the Identity Provider application into the IDP Metadata URL box and click the magnifying glass to the right of the URL input box to import the metadata. Alternatively, you can paste any metadata content directly into the IdP Metadata Content box.
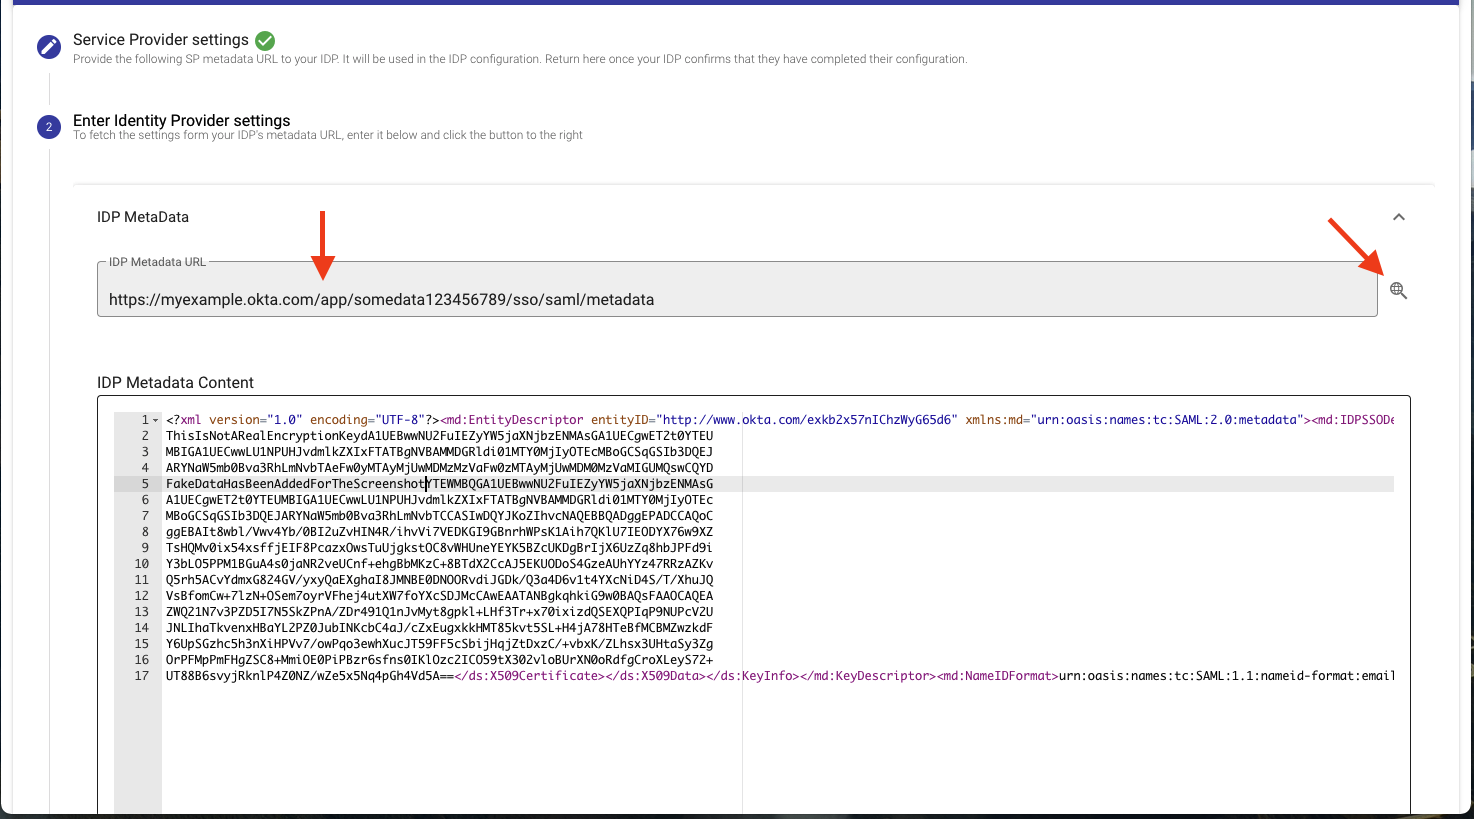
- Click Continue.
- In step 3 test that login works by clicking the Continue button. You should see a Login successful page if everything is working correctly and should be automatically moved to step 4 in Integrify.
- In step 4 Click the Continue button.
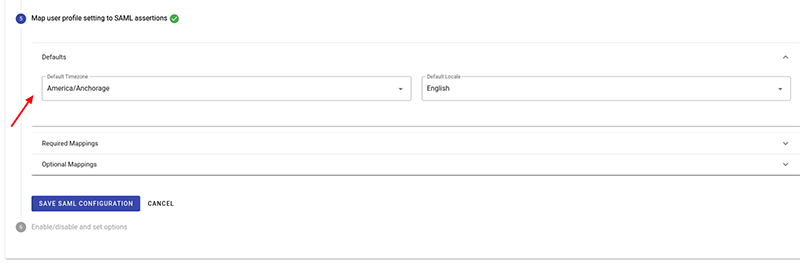
- In step 5, enter the Default Mappings for time zone and locale.
- Also in step 5 click on the drop-down boxes in the right-hand column to choose attribute claims found in the SAML assertion that match the required Integrify user profile values in the left-hand column. Click on “Optional Mappings” to expand the optional mappings section for optional user profile attributes.
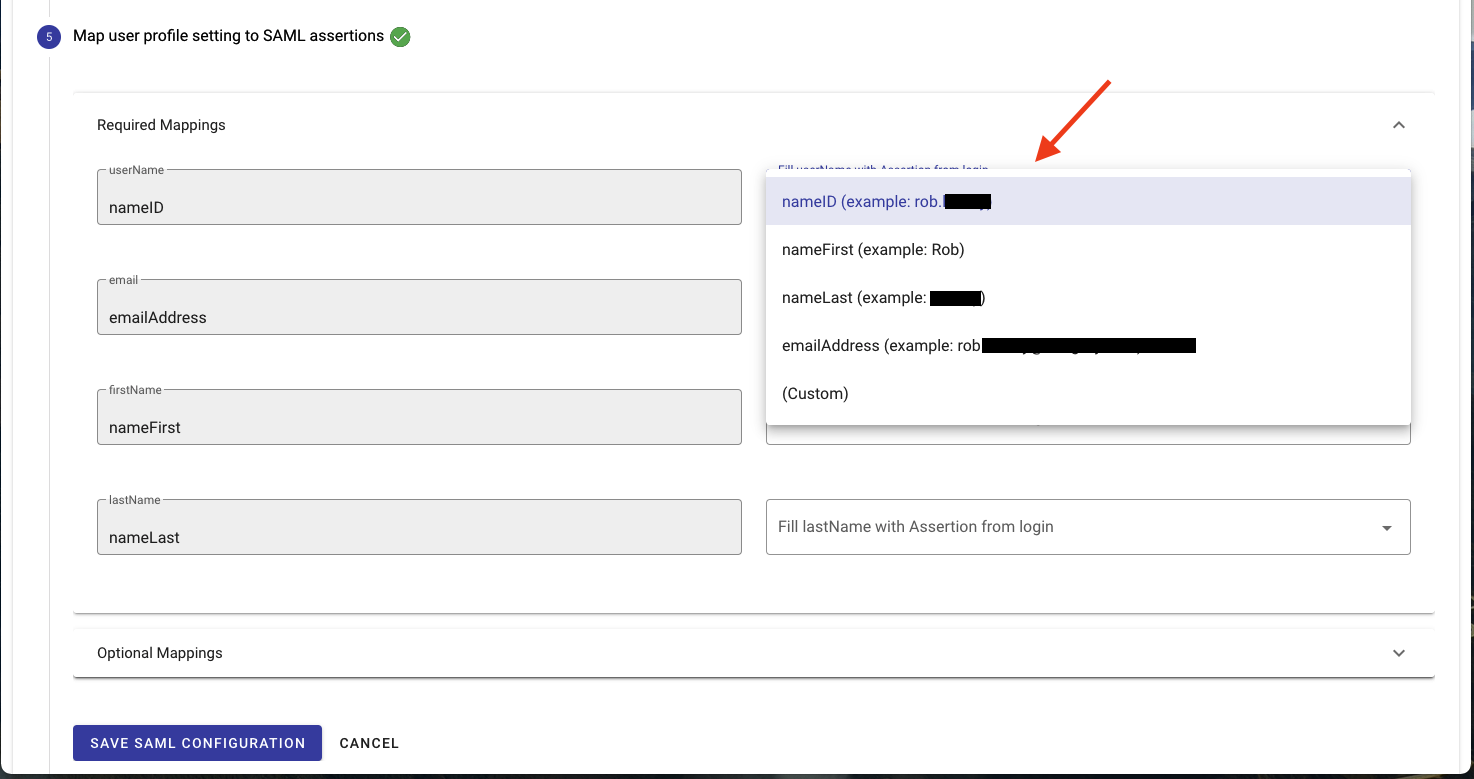
- Click Save SAML Configuration.
- In step 6 check the Enabled box to enable SSO. Optionally, if you want to disable the normal login method and have users only sign in via SSO check the “Use Exclusively (disable standard authentication)” button. ***Note: this should only be enabled once you have configured, tested, and confirmed SSO is working properly.
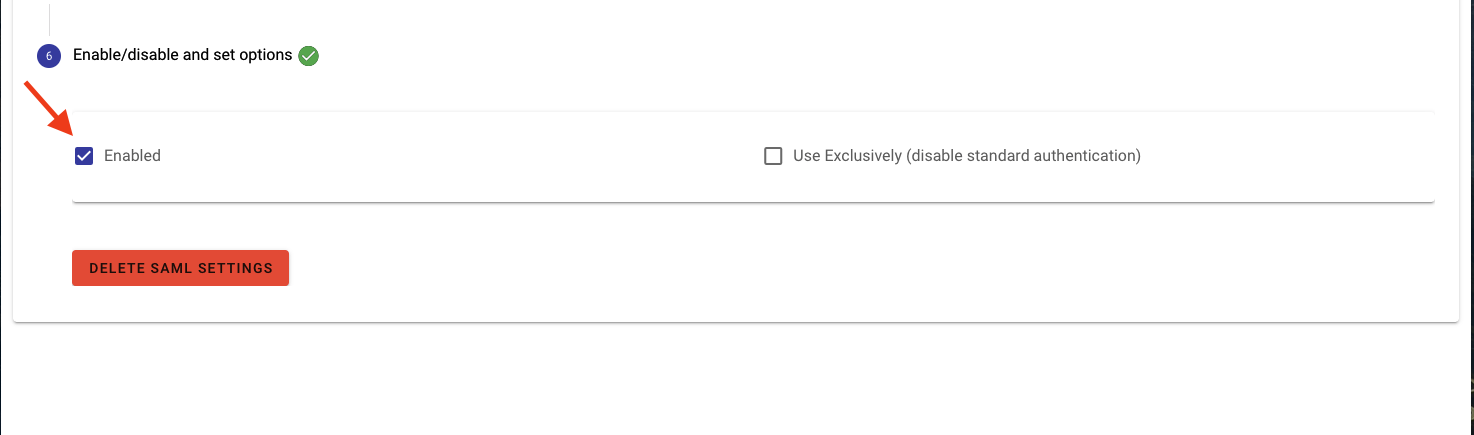
- Click Save.
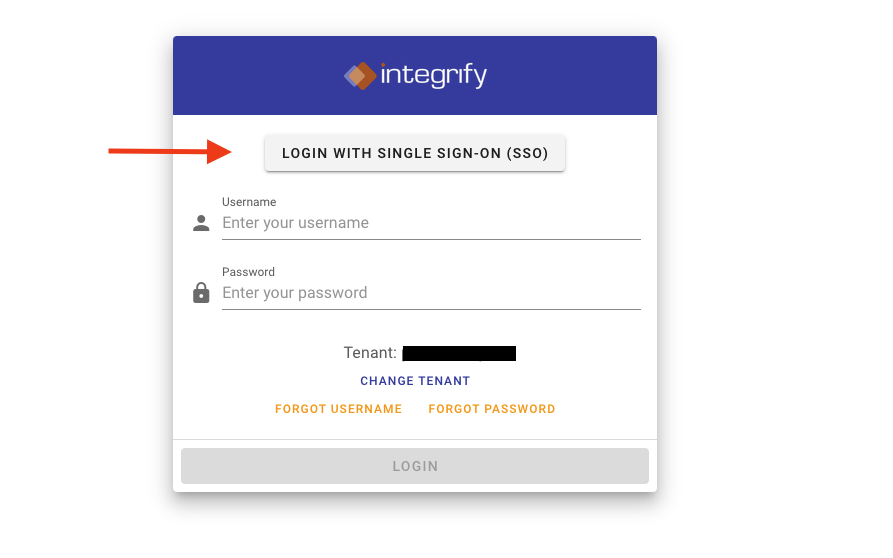
- You should now have a Login with Single Sign-On (SSO) button on the initial login screen. Click that button to login with your SSO credentials.
Notes:
- Integrify's SAML setup will auto-provision users (Your provider will maintain the user info on their end and pass it into Integrify).
- User information updates every time a user logs on - and pulls in the user profile info.
- For initial upload of users via Import Template please contact your Customer Success Manager.
Earn a $25 Gift Certificate
Review Integrify on Gartner Peer Insights and get $25! Reviews take only a few minutes to complete.