Translations
Note: It is helpful to visit the screen that you wish to have translated labels for during the same session you take the steps listed below. The system will show labels from the pages that you have recently visited.
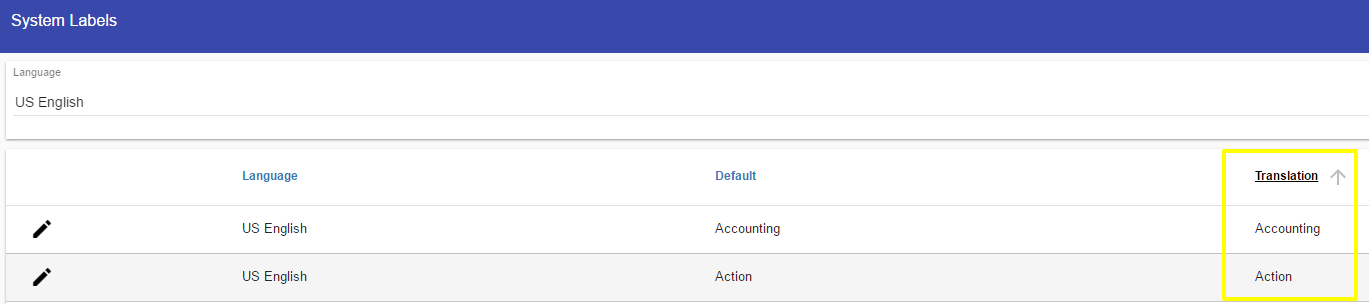
Select Translations under the gear icon for System Settings:
![]()
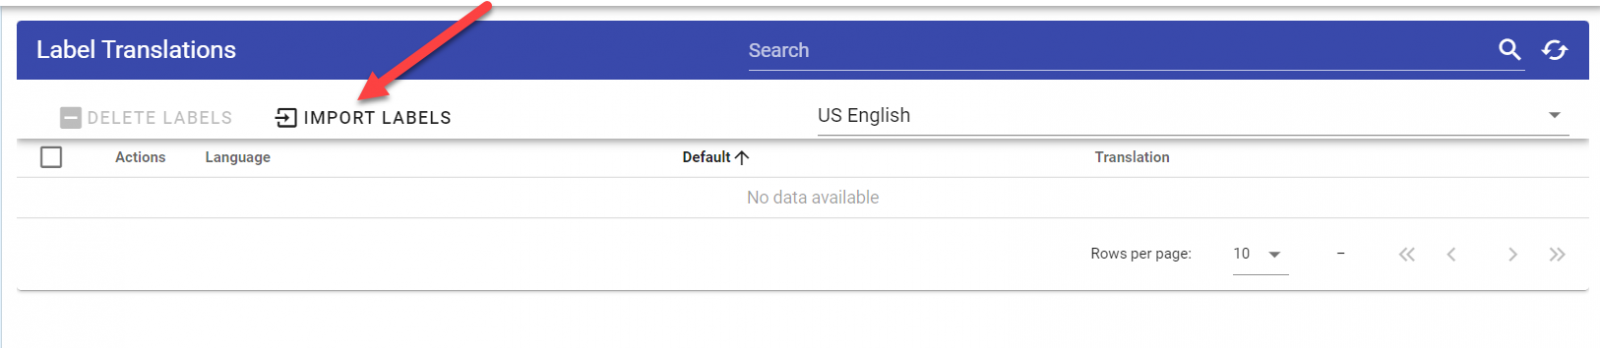
Within the top row, you can select from different languages (US English shown, but additional languages can be added). Next click on the Import Labels button and system will scan for the menu and button labels that you have viewed during your most recent session. Click on the Import Labels menu and system will scan for system labels to offer for translation (this may take a few minutes).
Note: the translated labels for different languages would appear for certain users based on the user's language setting in their profile. i.e. if Joe Smith's language setting is Spanish, he would see the labels for the Spanish language option here.
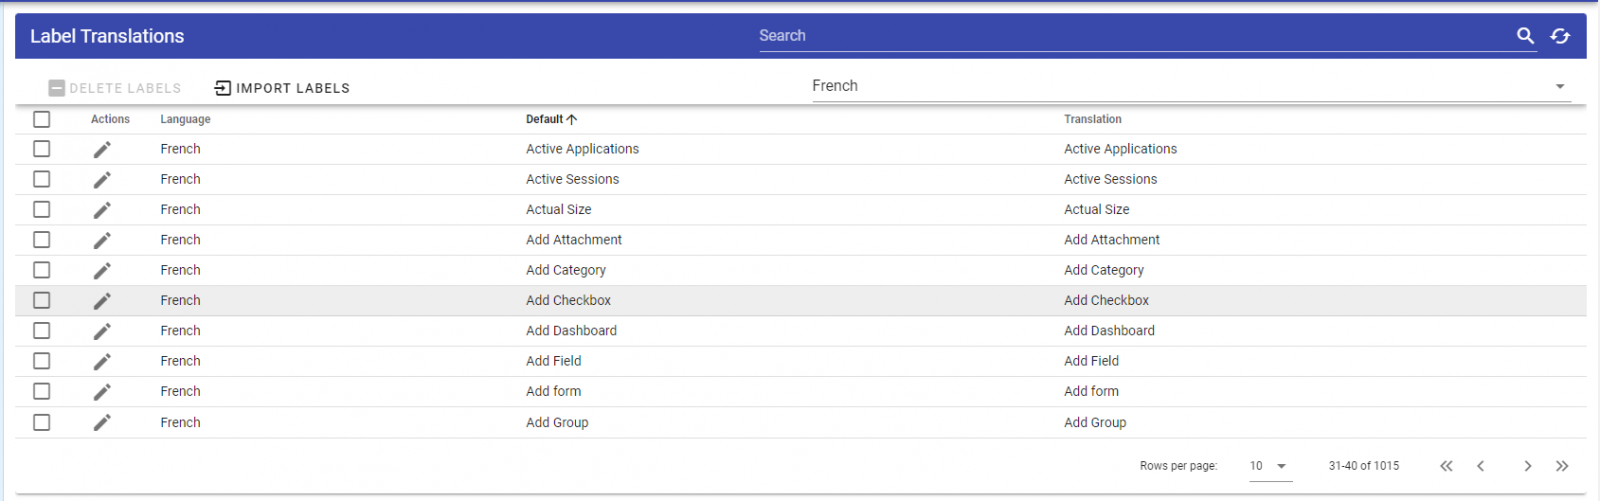
First, choose the language you want to translate, then click on Edit pencil icon for the row containing the default label and translation that you want to edit:
The Edit window below will appear:
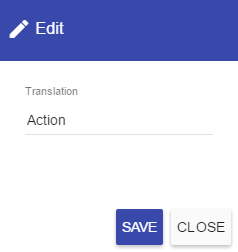
Enter the translation in the open field and select Save. This will update Integrify to display the translation for wherever that label appears within the user interface.
You can also filter the labels to quickly find the label you want to translate by clicking within the Default, Language or Translation column headers:
See below: