Email Monitors
Using Inbound Email Monitors
Email monitors allow you to define an inbox for an email address that you wish to monitor for incoming email messages. This can be handy for managing emails sent to a group inbox, especially from external sources like customers, vendors, students, etc.
How Does it Work?
When a message arrives in a monitored mailbox, it will generate a new request in Integrify. You just need to assign a mailbox and create a process to manage the request.
The data captured from the email will include the following:
- "Subject"
- "Sender Name"
- "Sender Address"
- "CC Addresses"
- "Date/Time"
- "Date"
- "Time"
- "BodyText”
- "BodyHTML"
- "Body"
- "Attachments"
These data points can then be used as prefill data and within your business rules for routing during process execution.
Configuring an Inbound Email Monitor
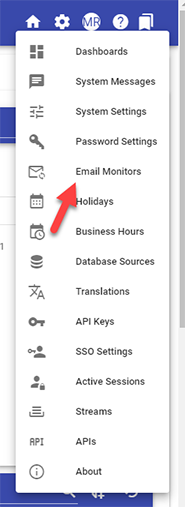
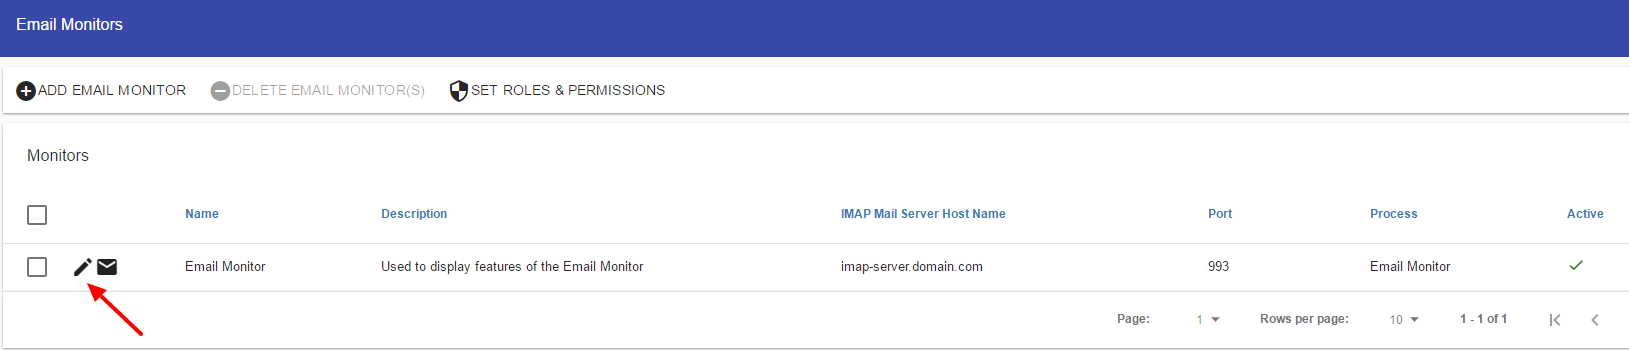
Select Email Monitors from the System Settings left-side navigation menu:
....and then Add Email Monitor:

Once selected, you will be presented with the following to configure an email monitor:
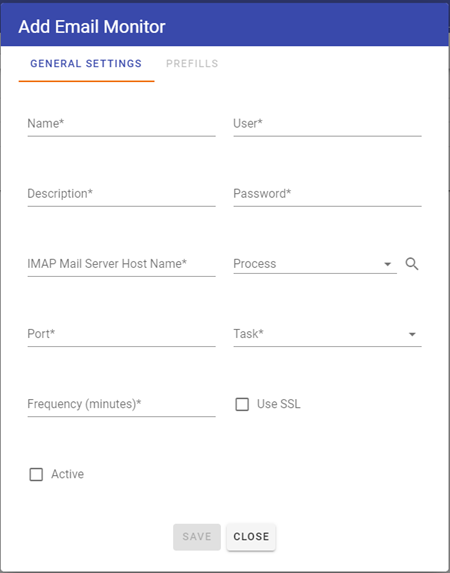
Email Monitor Attributes
The following describes the attributes that you can define:
| Attribute | Option | Required | Description |
| Name | None | Yes | The Name of the email monitor. |
| Description | None | No | The description of the email monitor. |
| IMAP Mail Server Host Name | None | No | The fully qualified domain name of the IMAP Server you wish to use for this connection |
| Port | None | No | The Port for your connection. Standard IMAP ports are 143 for non-SSL and 993 for SSL connections |
| Use SSL | Slide Button | No | If using SSL for your connection. |
| User | None | No | If required for connection, the username for your connection. |
| Password | None | No | If required for connection, the password for your connection. |
| Process | Selectlist | No |
The process you wish to initiate from the inbound email. |
| Task | Selectlist | No | Dynamic based on the process selected. The task within the process you wish to complete with the inbound email. (See more below) |
| Active | Slide Button | No | Select to make the email monitor active. |
Using the Email Monitor with Gmail
In order to authenticate with a Gmail account set up with IMAP, a unique app password must be generated to provide Integrify's system access to the inbox. Please see the link below on how to set this up and generate a one-time password for the Email Monitor.
https://support.google.com/accounts/answer/185833
Example Email Monitor Configuration
Here's an example of an Email Monitor configuration:
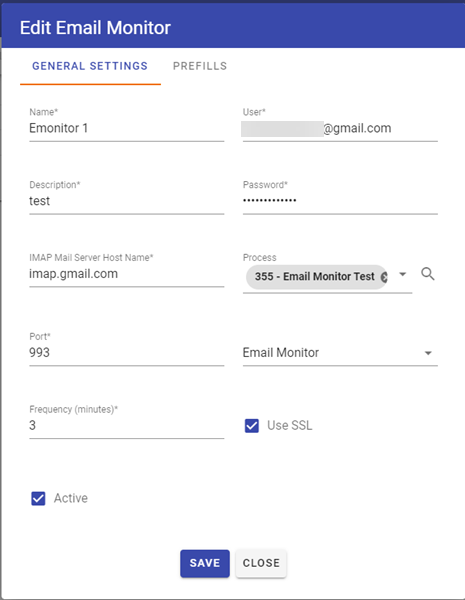
Once you have saved an Email Monitor, you can see that the process 'Email Monitor' will start and the task, 'Email Form' will be completed with data from the inbound email.
Form task definition for the Email Monitor
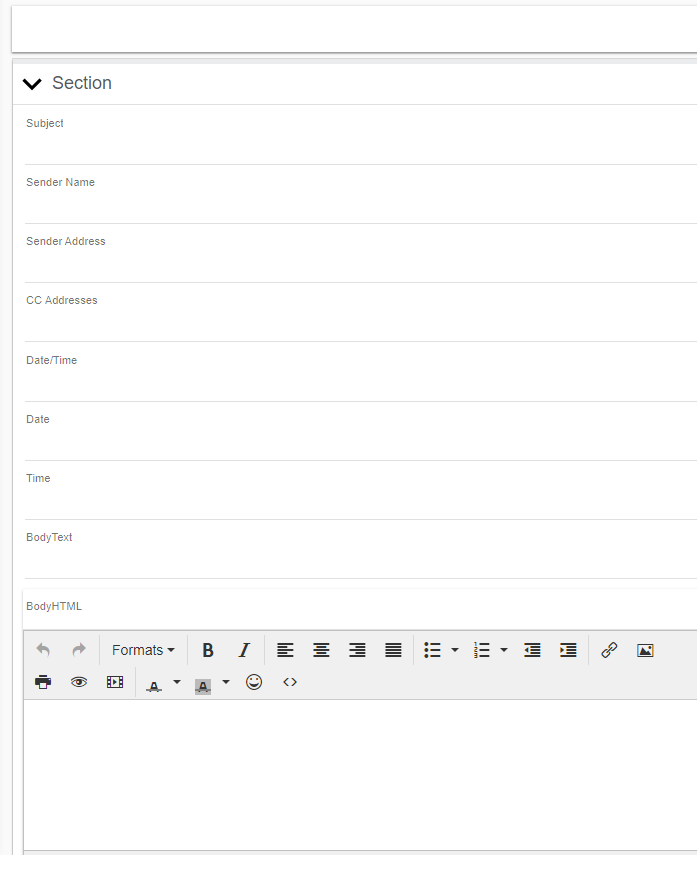
When you define a process and its Form task that will start based on an email being received in your configurations, you will need to ensure that the Form used in your Form Task has questions with specifically titled questions. The form fields must be of the short text type and the field labels must be spelled the same as they are in the list below (i.e. field for BodyText input must have BodyText for a label).
The Form Task in the process to receive data (the Form task that will accept the data from the email):
The values passed in from the email are:
- "Subject"
- "Sender Name"
- "Sender Address"
- "CC Addresses"
- "Date/Time"
- "Date"
- "Time"
- "BodyText”
- "BodyHTML"
- "Body"
- "Attachments"
You must configure the Form task's prefill settings as shown below with "Parent Process Data" or the email's data will not be transferred to your input form.

Your Forms must have questions with labels of these names in order to receive the desired data.
Here is an example of a form with the required question types:
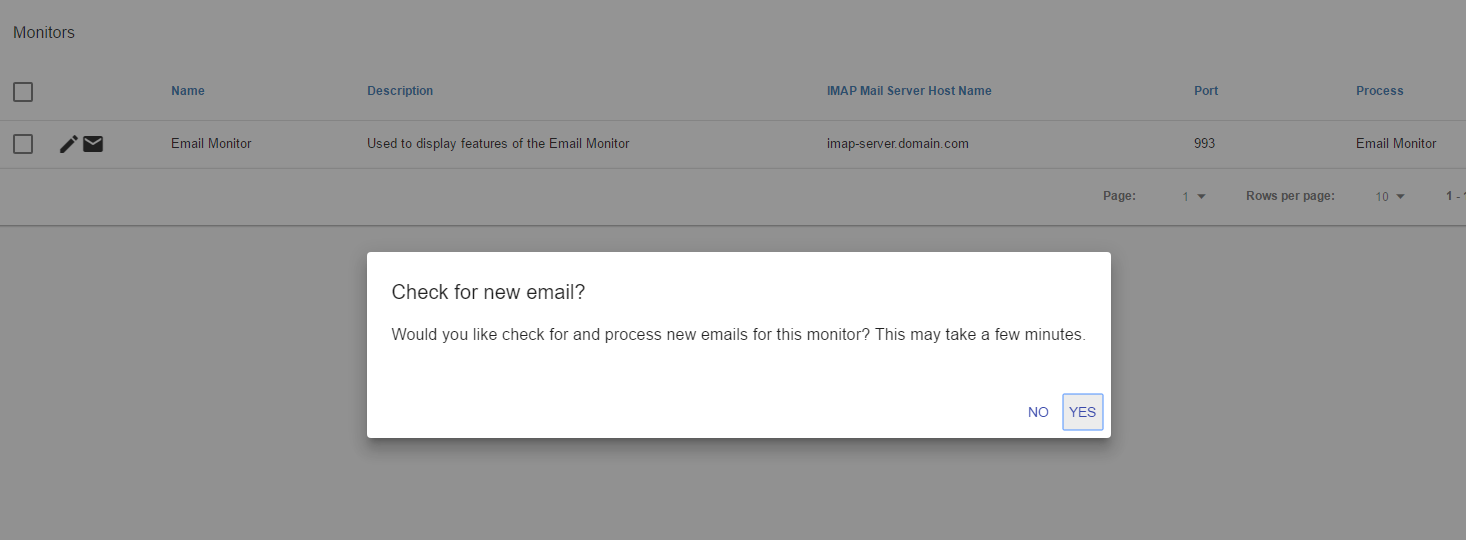
You can also Edit your Email Monitors here:
In addition, you can check for new email by selecting the Envelope icon:
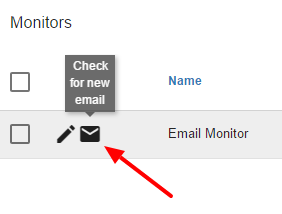
This will prompt you to select 'Yes' or 'No':