Add Users
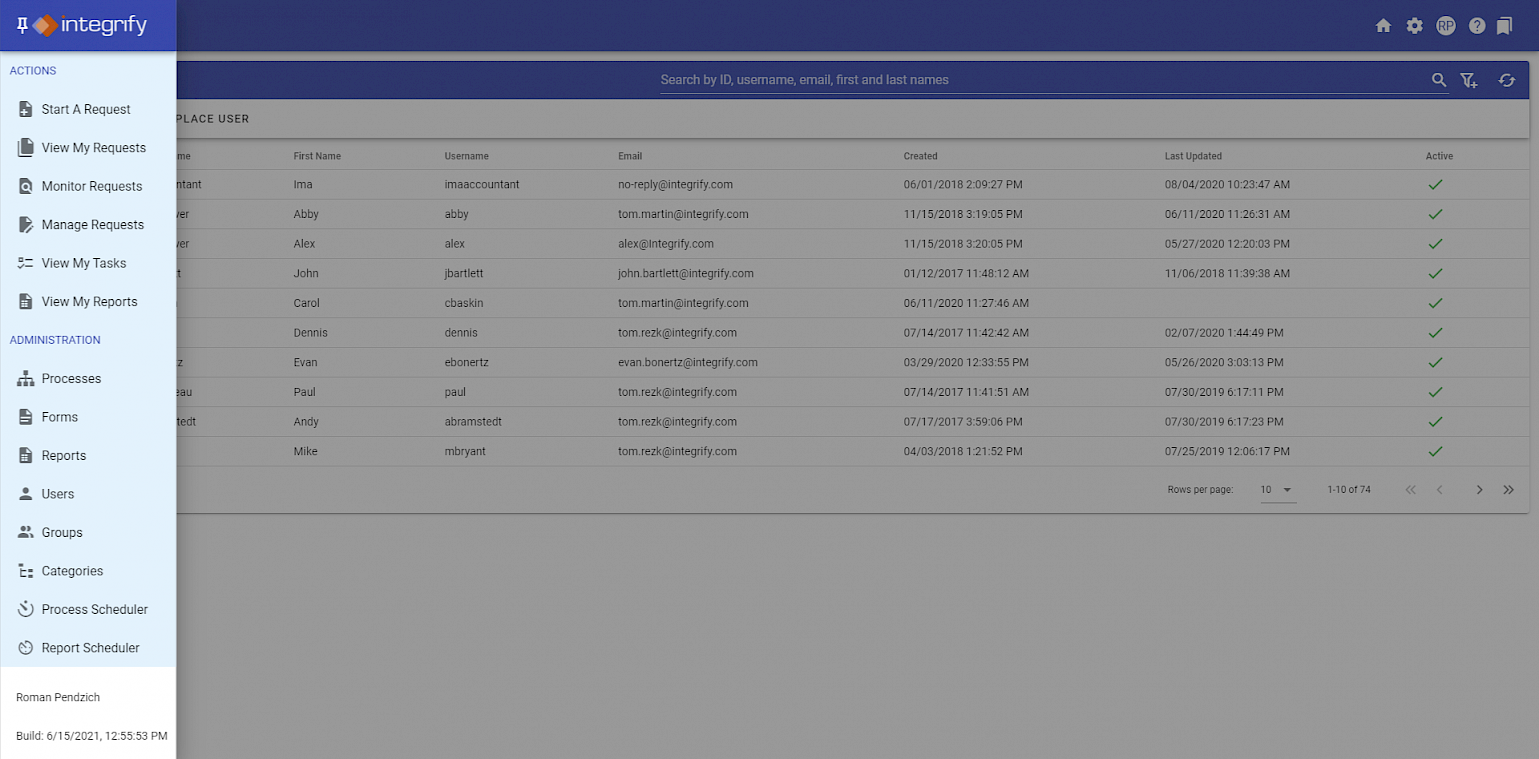
Within the left-side navigation menu, you can select Administration > Users to add, edit, replace or make users inactive within Integrify:
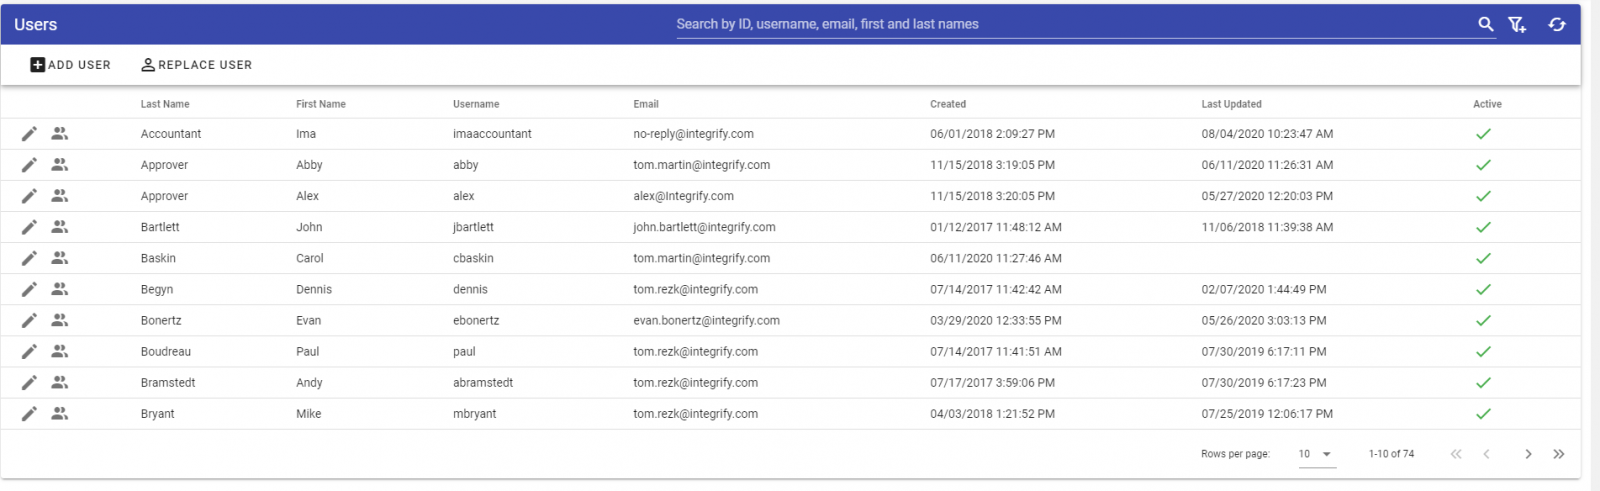
To add a user, select Add User:
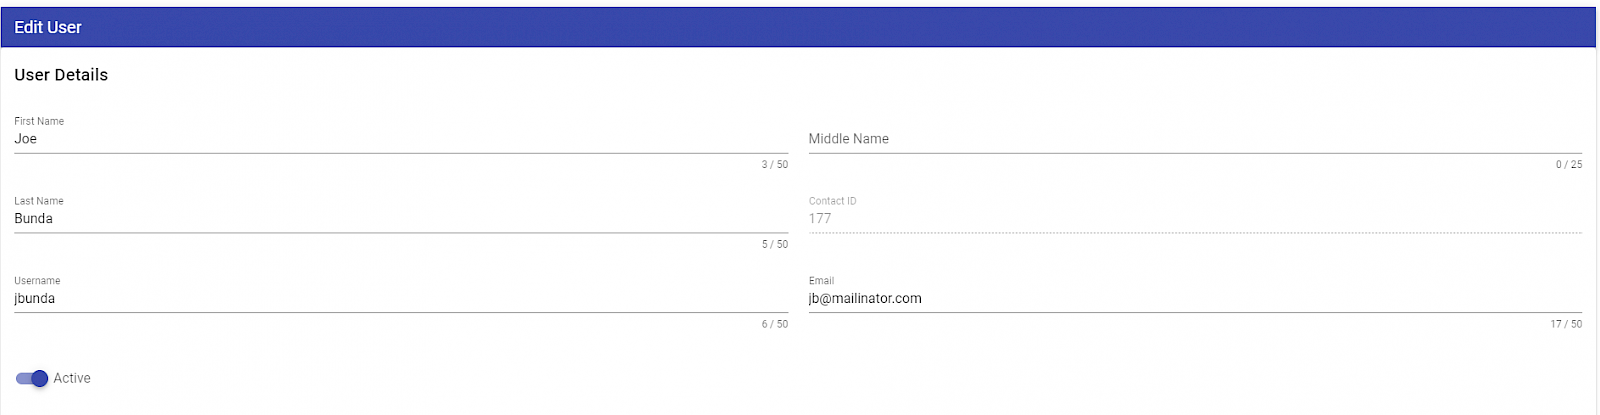
The screen will highlight any required fields for defining a new user account:
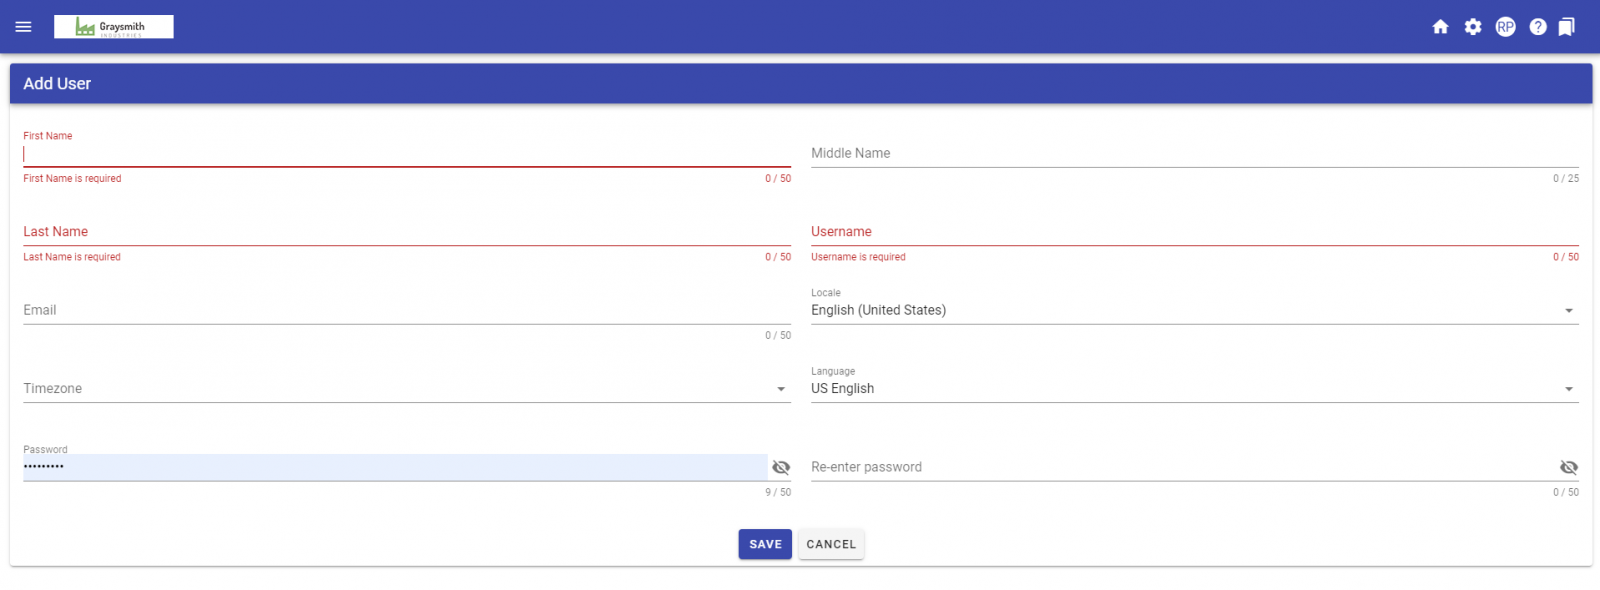
- Enter the first name, middle initial, and last name of the user. The first and last names are required fields.
- Enter a username for this user. (Required)
- Enter the user's email address. (Required)
- Select a Locale for the user.
- Select the default time zone for this user. (Required)
- Select the default language for this user, if your system is configured to support multiple languages. Supported languages are: English, Spanish, German, French, Italian, Portuguese, Japanese, Korean, and Chinese. When this user logs in to Integrify, the system tabs default to the language selected here. (Required)
- Enter a password for this user. Retype the password to confirm that you typed it correctly. (Required)
Click the "Save" button to add this user profile to the database.
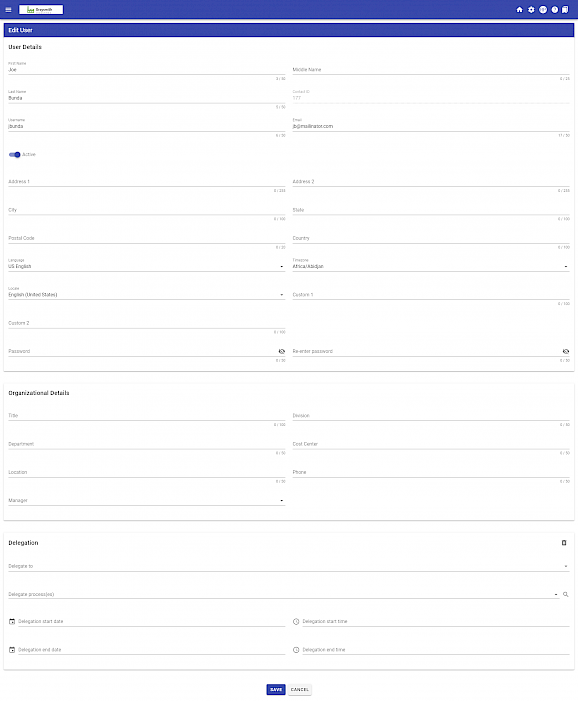
You will be taken to their profile:
The new user will also appear in your list of users as 'Active':

A summary of the profile displays in the User Profile page.
Once you have added the user, you can optionally choose to make the user active or inactive by clicking the "Active" slide button in their User Profile tab:
From here, you can add further profile information for the user with the tabs: Organizational Details, Address information, Delegation, Other and Password.
Note: All information in these tabs are optional.
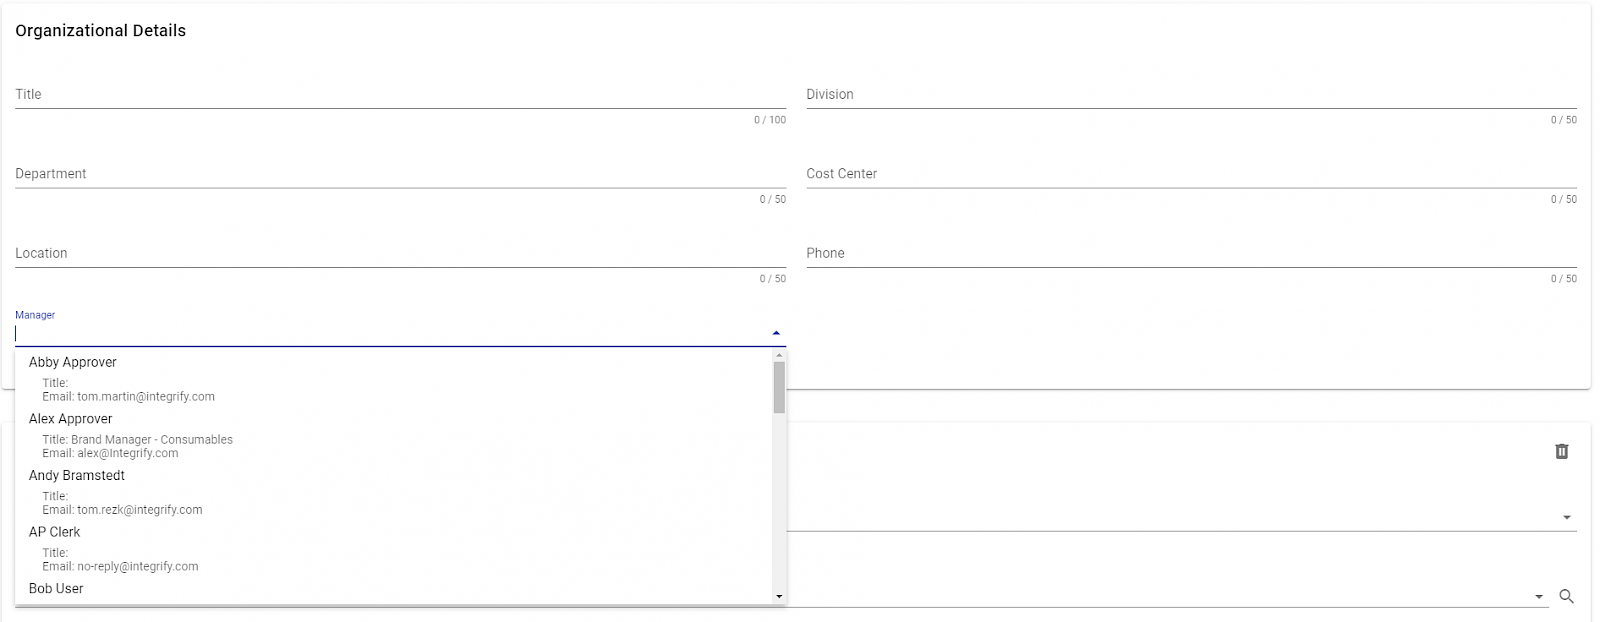
Organizational Details
You can add user information for: Title, Division, Department, Cost Center, Location, Phone, Signature and Manager.
Note: You will be able to use these fields as data elements to base your task or recipient rules on. For example, you may have several recipients of a task but want to limit the inclusion of certain recipients based on a user’s Location or Department.

You can select a manager for each user; a process that includes a Dynamic Recipient (e.g., Requester's Manager or Task Completer's Manager) will route a task to the manager defined here for this user.
- Click inside the Manager field to open a search box, where you can search for this user's manager's profile. Integrify will use this manager for Dynamic Recipient tasks involving a manager.
- Enter the first 2 letters of the first or last name of the user's manager to see the manager you would like to select. Click the name of the manager in the Search Results box to insert this manager into the user's profile. If you want to remove an existing user's manager settings, click the '-' next to the manager name to remove from the user's profile.
Click the "Save" button to save your settings.
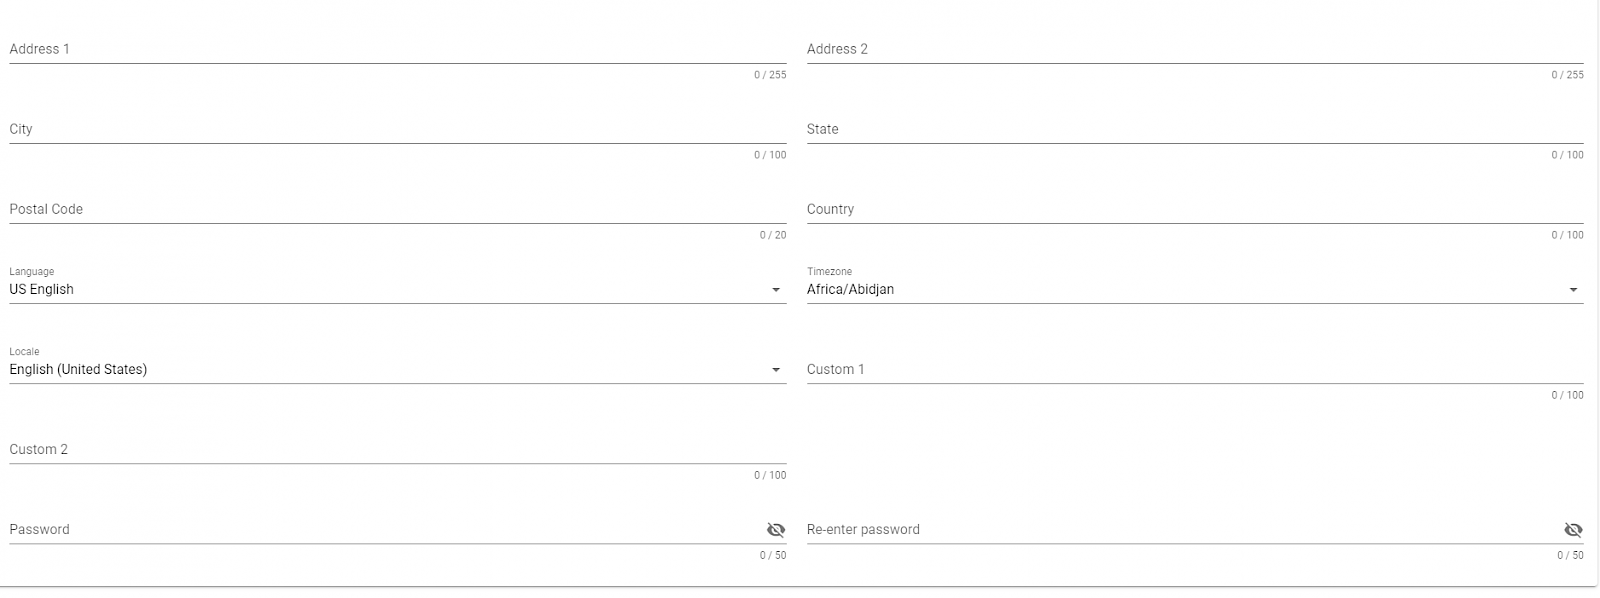
Address Information
You can add further address details here, including: Address 1, Address 2, City, State, Postal Code and Country.
Click the "Save" button to save your settings.
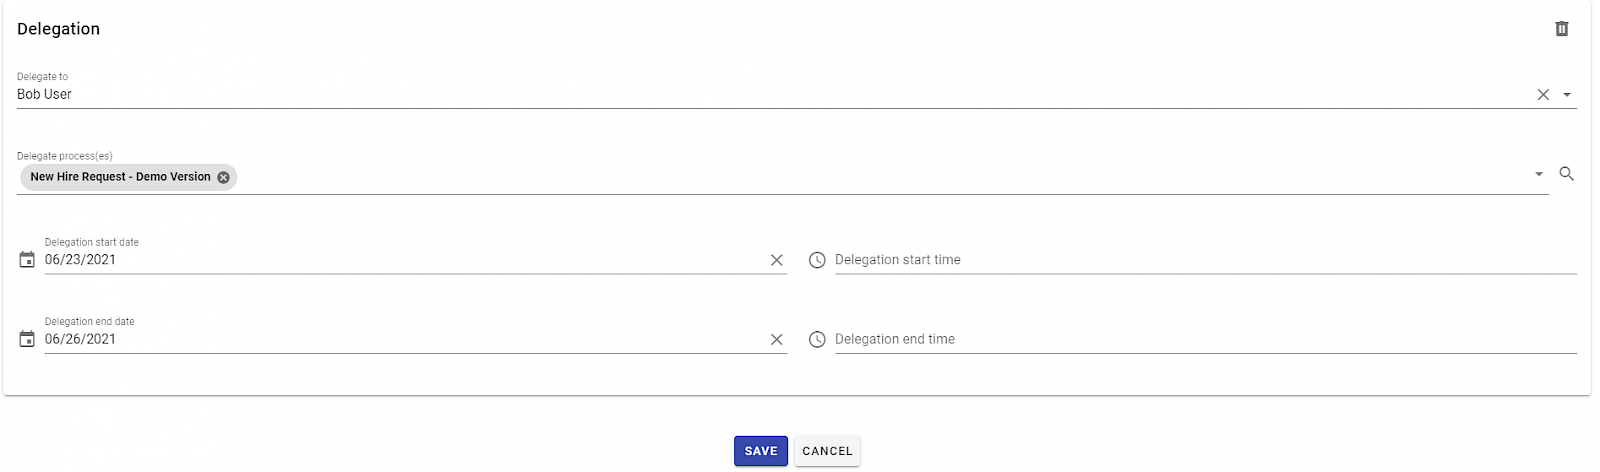
Delegation
With the Delegation tab, the administrator can manage a user’s delegate for any tasks for a specified time frame.
This will send any open tasks to whoever is defined in the Delegate field within the Delegation Start and Delegation End dates.
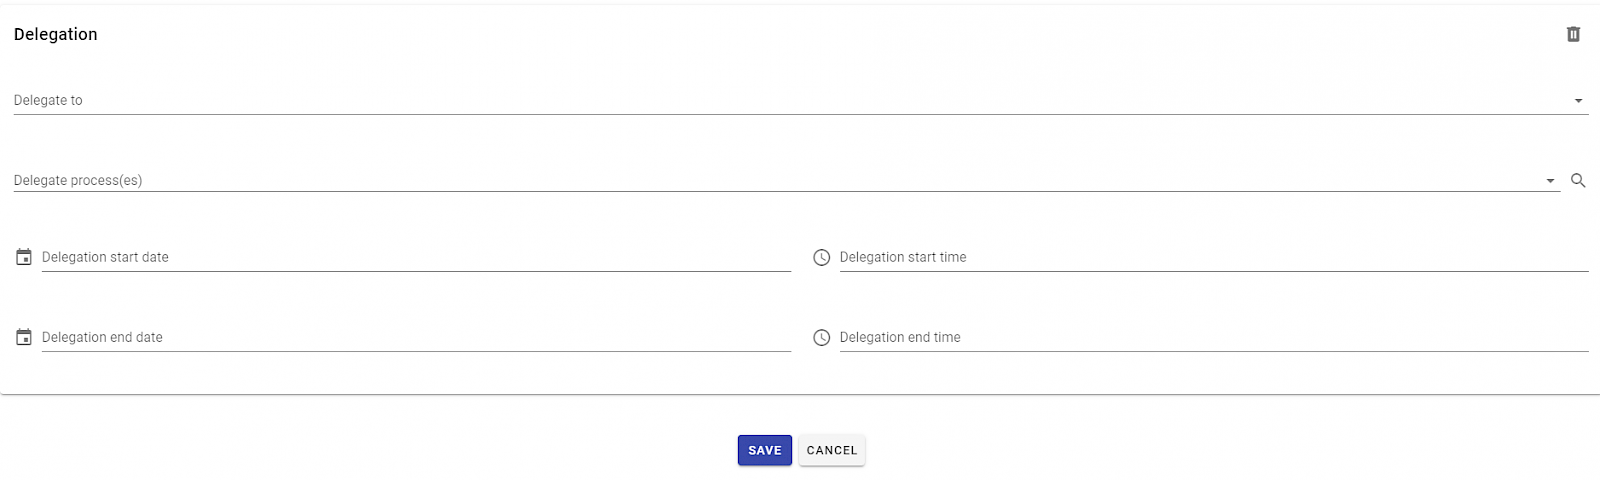
- Enter the first 2 letters of the first or last name of the user's delegate to see the delegate user you would like to select. Click the name of the delegate in the Search Results box to insert this delegate into the user's profile. If you want to remove an existing user's delegate settings, click the '-' next to the delegate name to remove from the user's profile.
- Click the "Calendar" icon in the Delegation Start field to select a start date from the calendar.|
- Click the "Calendar" icon in the Delegation End field to select an end date from the calendar.
You can optionally narrow down the delegation settings to tasks for certain processes by selecting the 'Process(es) to Delegate' search box:
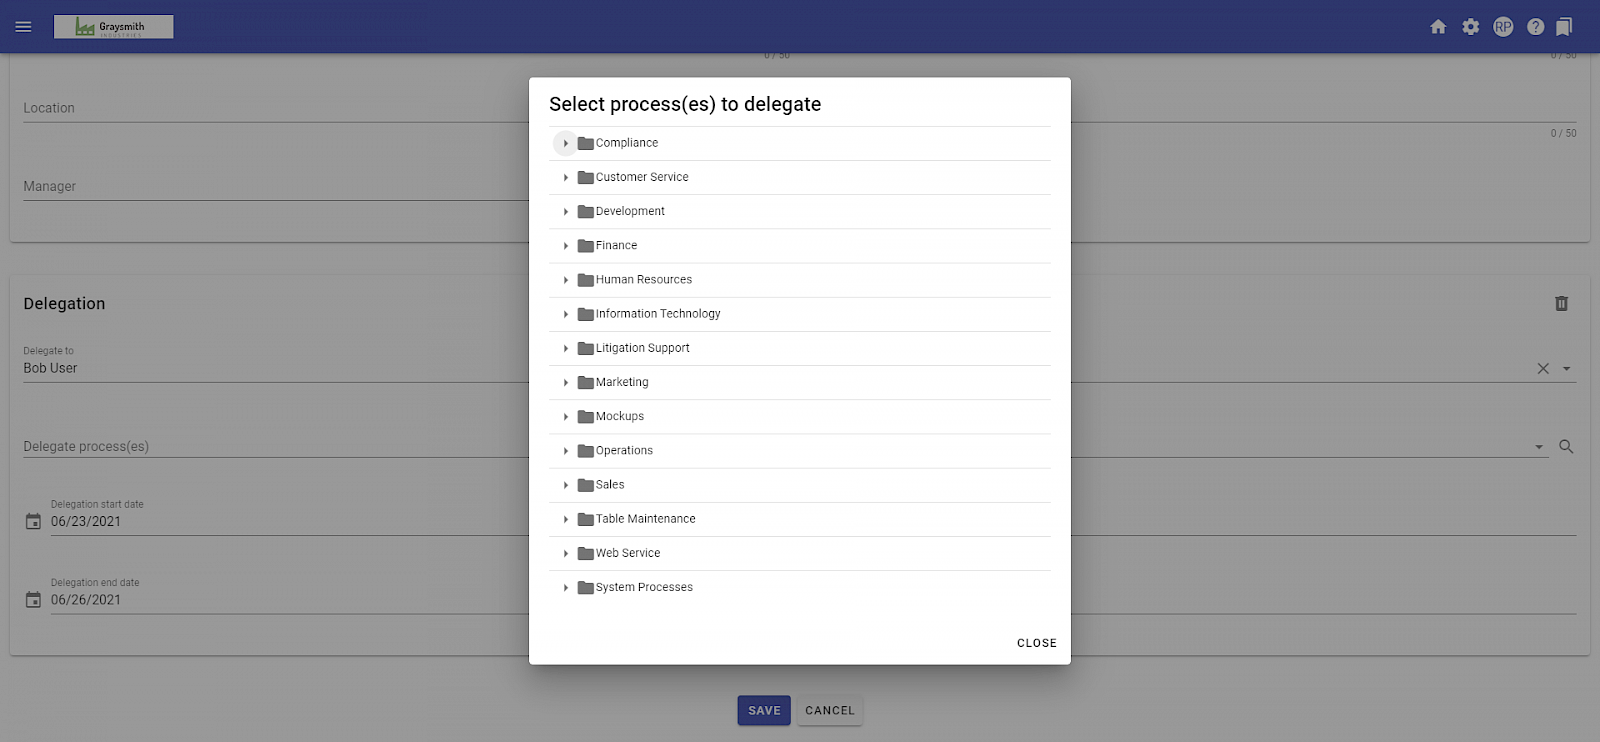
Note: For the processes chosen here, the system will assign tasks that are assigned to the user to the delegate during the defined time frame. If no processes are selected here, the system will assign all open tasks to the delegate for all processes where the user is a recipient during the specified time frame.
Click the "Save" button to save your settings.
Click the "Save" button to save your settings.
Password
To edit a user’s password, fill in a new password. Retype the password to confirm that you typed it correctly. (Required)

Click the "Save" button to save your settings.