Process Menu: Request Detail Config
The Request Detail Screen
When reviewing requests users often refer to the Request Detail screen, which provides them with all the information about a specific request. This is also often where a user is sent when they receive a notification.
Depending on your needs, you may want to customize this page to ensure users focus on the most important information. Or you may want to include more information than the default layout. For instance, you can add Task/Request-related reports to the page.
The Request Detail Config tab allows you to define what information is displayed on the Request Detail screen, in what order to display it, and if the information should be expanded or contracted by default. This applies to any process you build.
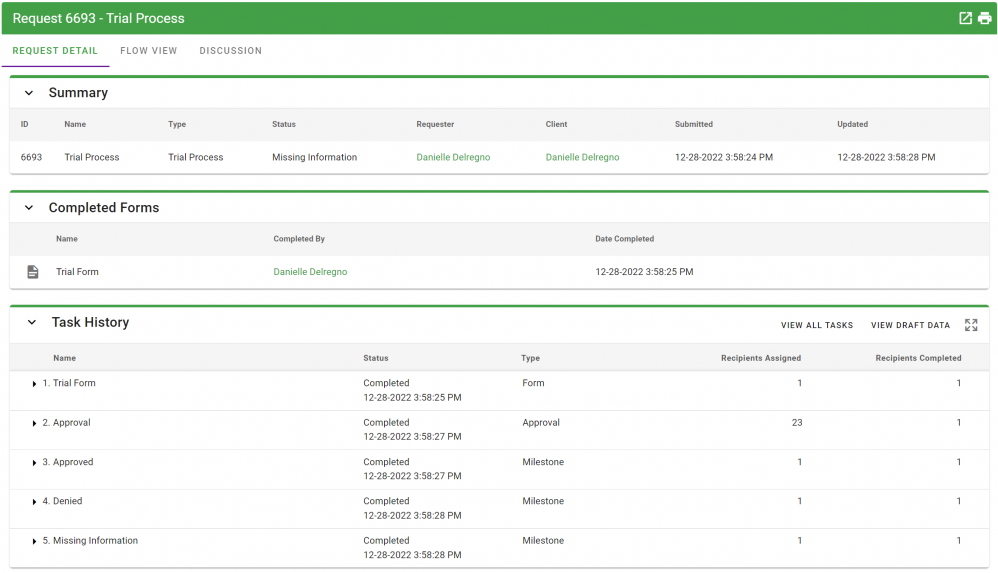
A typical, default Request Detail screen.
Configuring the Request Detail Screen
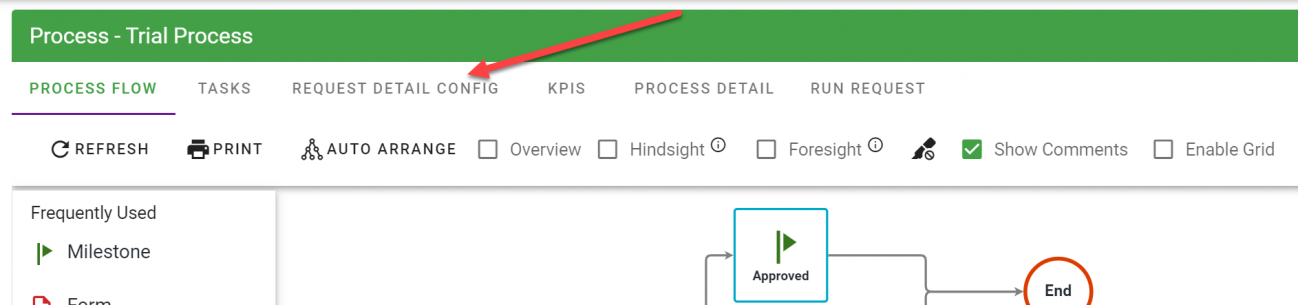
To configure the Request Detail screen, open a process and click on the Request Detail Config Tab.
You will be presented with a blank work area and several widgets that can be dragged onto it.
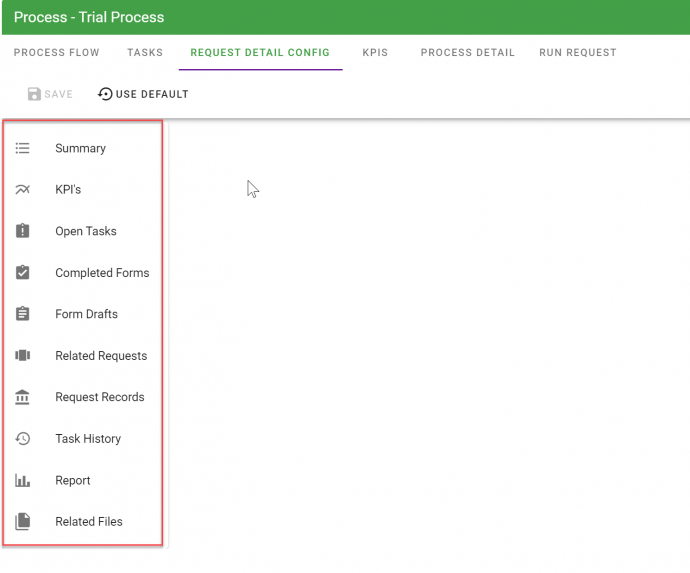
By default, the Request Detail tab will include these items and in this order:
- Summary
- KPIs (if there are any defined)
- Open Tasks
- Completed Forms
- Related Requests
- Request Records
- Task History
- Report
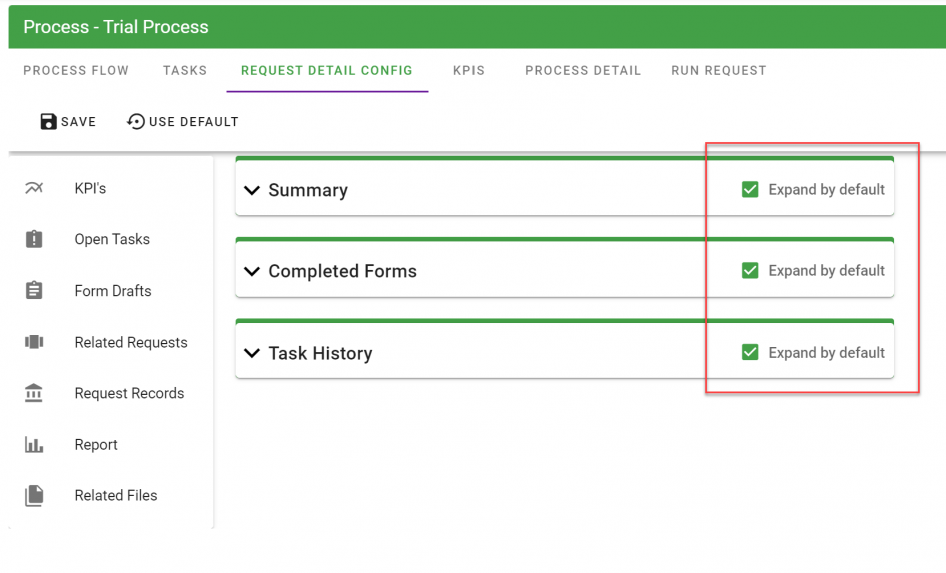
Should you want to rearrange the order of how these items are presented or include/exclude certain items, simply grab the item from the left-side panel and drag to the workspace as we've done below. To remove an item from the Request Detail Config that you have added, drag it back onto the list to the left.
Be sure to select the Save icon to save your changes. If you want to revert back to the default Request Detail display, select Use Default.
When the items in the Request Detail are displayed to a user, you can also choose whether or not the items are expanded by default:
Description of items that can be included/excluded:
- Summary: Provides a summary of a request, including Request ID, Name of Request, Request Type, Request Status, Requester, Client, Submitted, and Updated.
- KPIs: Should you define KPIs for the process, those KPI graphs would appear in this section.
- Open Tasks: Displays any open tasks that are currently with a status of started.
- Completed Forms: Displays details of all completed forms in the request.
- Related Requests: Displays any related requests that have used in the process using the Launch Request task.
- Request Records: If your process has any form tasks that have configured to be a Request Record (see Request Records), this section will display those Request Records.
- Task History: Displays the history of all task activity for the request.
- Report: You can choose a report to display as part of the Request Detail. End users will see that report when they view the request detail. Keep in mind that any reports will use the request's SID and the current user as filters when running the report.
- Note: You can only display Task/Request type reports here, not custom reports.
-
Filter names used by the Request Detail Report widget:
-
Request|SID
-
Requester|SID
-
Current_User|SID
-
- Related Files