Task Menu: Notification Settings
The primary means of communication from Integrify to your users is through email notifications.
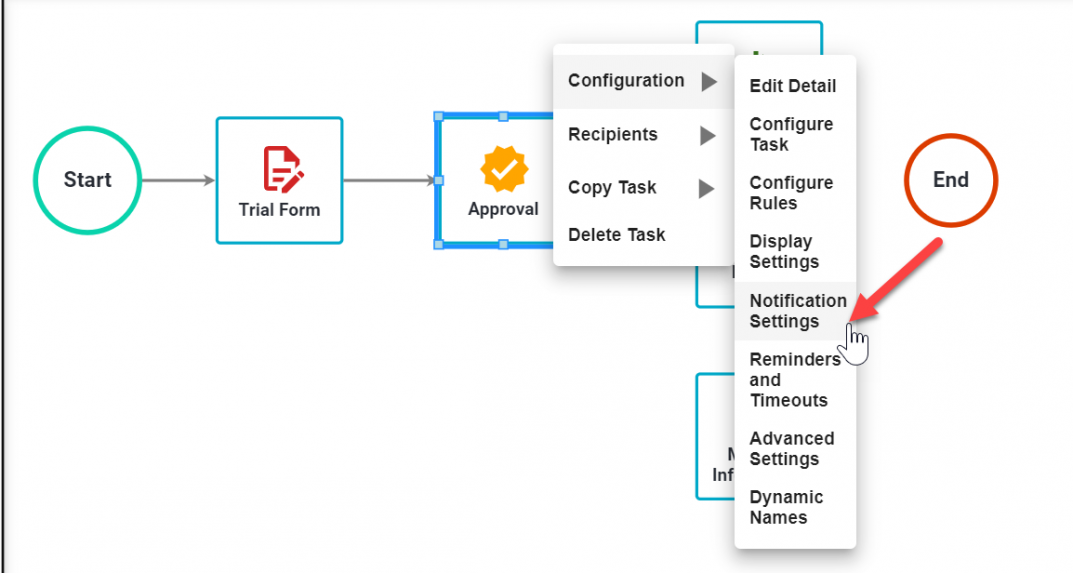
To alter the subject, body, or format of the emails being sent to a user when a task is assigned or when a reminder is sent, right-click on the task, hover over Configuration, and click Notification Settings.
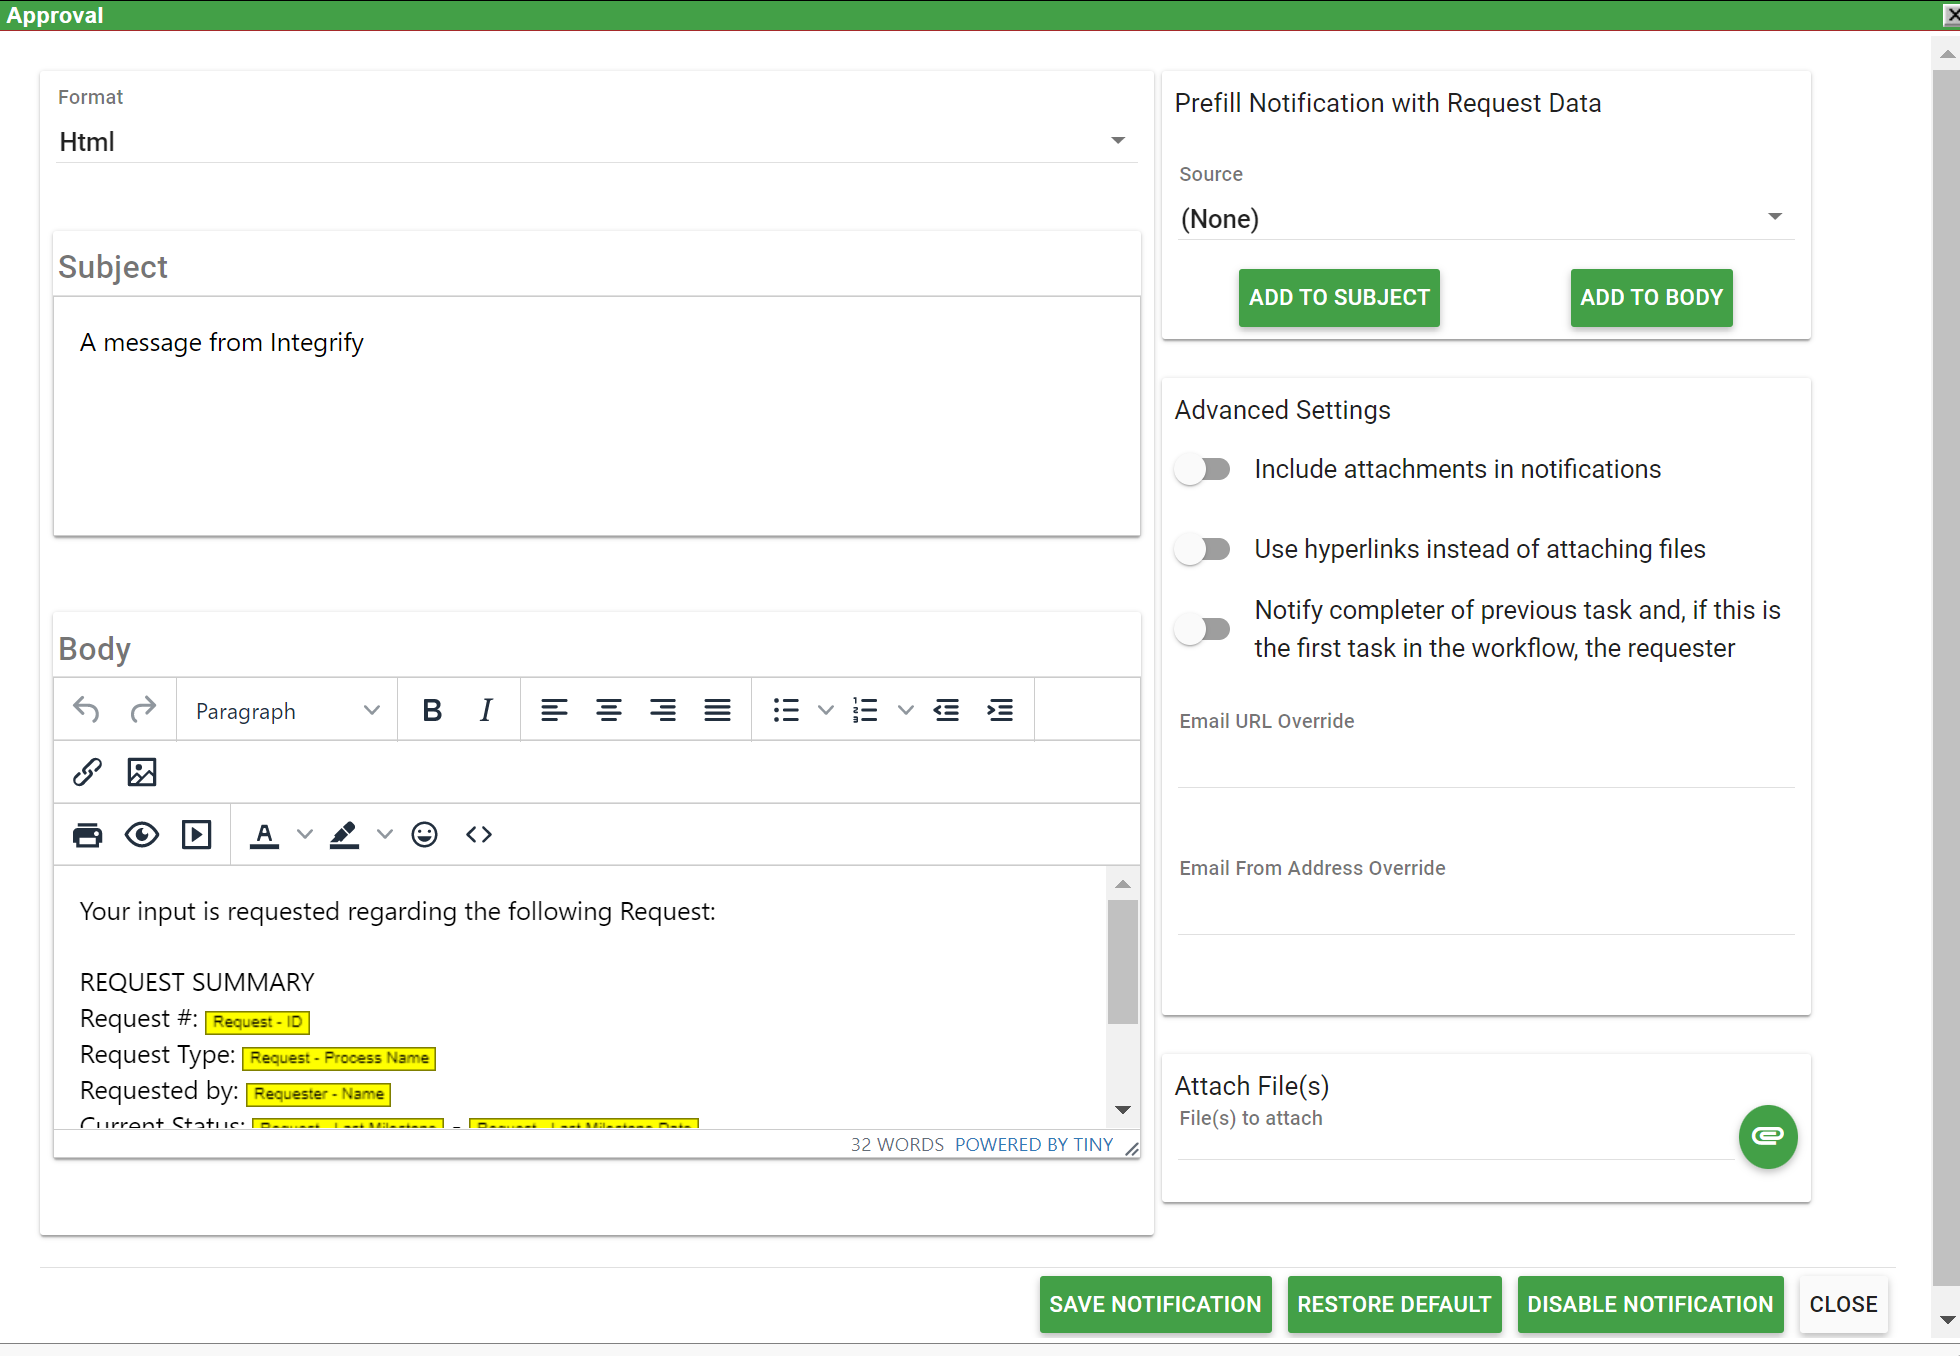
The Notification Settings is divided into these areas:
- Format: HTML and Text options.
- Prefill Notification with Request Data: provides the ability to select specific data from within the request to be included in your email
- Advanced Settings: allows you to include file attachments in your email notification from attached files in form tasks. Also, you can define the Email 'from' address and how recipients are notified.
- Attach File(s): allows you to include static file attachments with the notification.
- Subject: will display in the subject line of the email notification
- Body: will display in the body section of the email notificaiton.
Notification Format
The Format section is used to determine the look and feel and the content of the email message that will be sent to the end user.
The Format option determines whether the email should be sent as HTML or (plain) Text. By default, the HTML option is selected as this generally provides better formatting.
By default, a template is loaded for any email message that contains a generic Subject and Body for the email.
The highlighted boxes indicate the dynamic request information that will be pulled into the email.
For instance, the default information in the body of the email will always render the text Request Summary information.
After the “Request #:” text you see highlighted text with the Request ID inside of it. What this indicates to Integrify is that when that email is sent, Integrify will add the unique Request ID that is generated for the request that is currently executed.
The same logic also applies to items:
- Request Type – Process Name
- Requested by -- Requester Name
- Current Status - Last Milestone - Last Milestone Date
When the email is sent, the body of the email would look something like:
You approval has been requested for the following:
REQUEST SUMMARY
Request #: 123
Request Type: Vacation Request
Requested by: Joe user
Current Status: Pending Approval
To view the details and complete your approval for this request click the following link: http://yourcompany.integrify.com
Within the formatting area, you can optionally select either HTML or TEXT as the format of the email. You can also edit the font, size, color, etc of your email notification.

Prefill Notification with Request Data
In addition to the default values that may be inserted into the body and subject of the email text, you may also include other process specific data.
The Prefill Notification with Request Data area enables you to select data from a Form task, a Requester’s name, name of the Request, etc.
By selecting an option from the Source list such as Data, the Task and Field lists will appear with a list of tasks in your process and then based on any task you select it will display a list of attributes for that task.
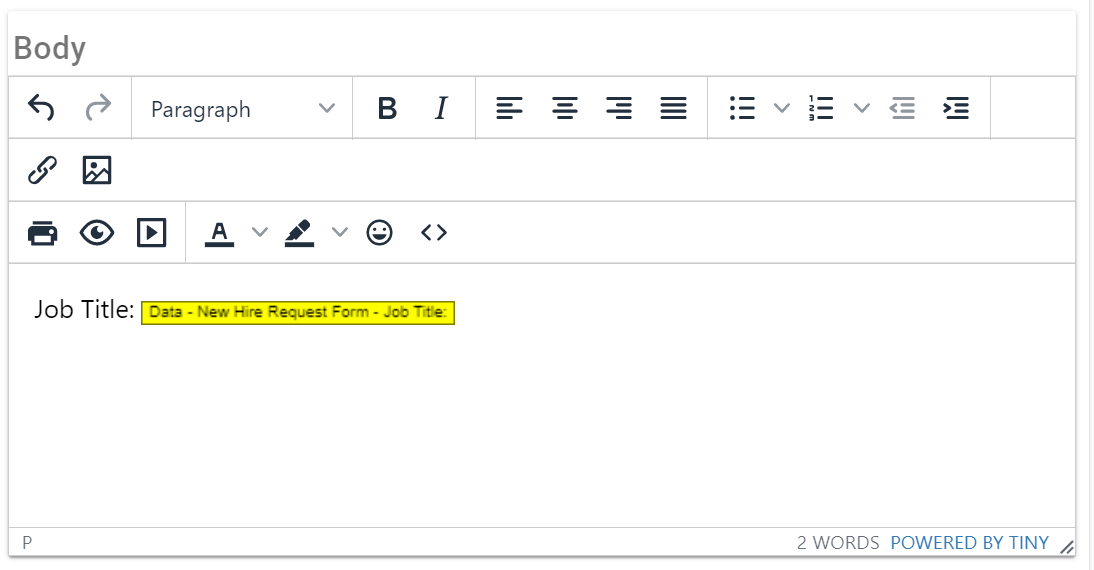
In the example below, you can see that the task called New Hire Request Form has been selected and the Field list contains a list of all available questions on that form. If you were to select the Job Title question from that particular form and add it as a prefill option to the email it might look something like:

Once you have filled out the Prefill Notification with Request Data, choose Add to Body. The field will be added to the bottom of the Body section of the window. When the email is sent, Integrify will automatically retrieve the value for the Job Title question from the New Hire Request Form and insert it into the email:
Advanced Settings
With the Advanced Settings, you can:
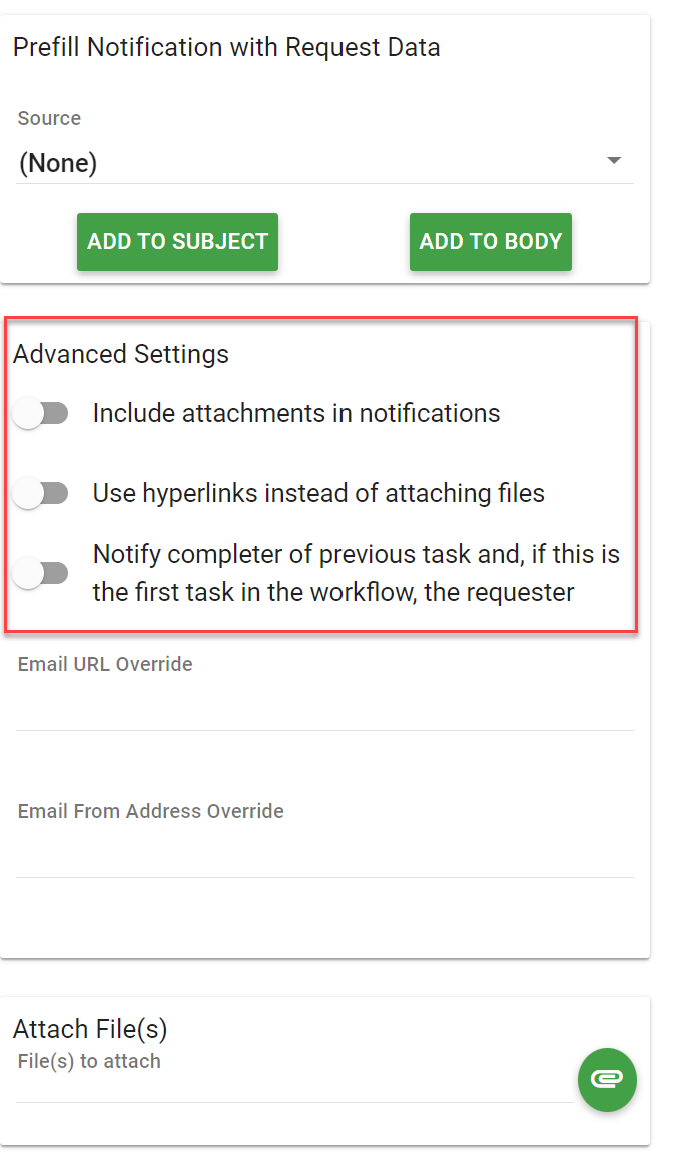
- Include the files that a user attaches in a file attachment question from within a form task. If you want to do this, first select the file attachment question from the form task as explained in the example above. Next, you must select Include attachments in notification. At this point, you can then optionally choose to include those file attachments as hyperlinks in the body of the email instead of the email notification being sent with the attached files. To do this, select Use hyperlinks instead of attaching files.
- Notify completer of previous task and, if this is the first task in the workflow, the requester. By default, this is not selected, meaning that if a user completes a task and they are a recipient of the next task in the process, they will not receive an email notification of the new task (they are taken to the next task immediately after completing the previous task). If selected, you can force this email notification to that user (in addition to any other recipients that were defined for the the task).
Attach File(s)
You also have the option to include static files as attachments to the email notification. For example, you may want to send an email to a recipient with attached documents that are not attached to any of the forms in the process.

With any task's email notification, you can also disable the email notification by selecting Disable Notification. If you want to restore the default email notification, select Restore Default. Once you have completed editing the notification, select Save Notification.

Including Current Task Information in the Email Notification
You also have the option to include current task information in the email notification.